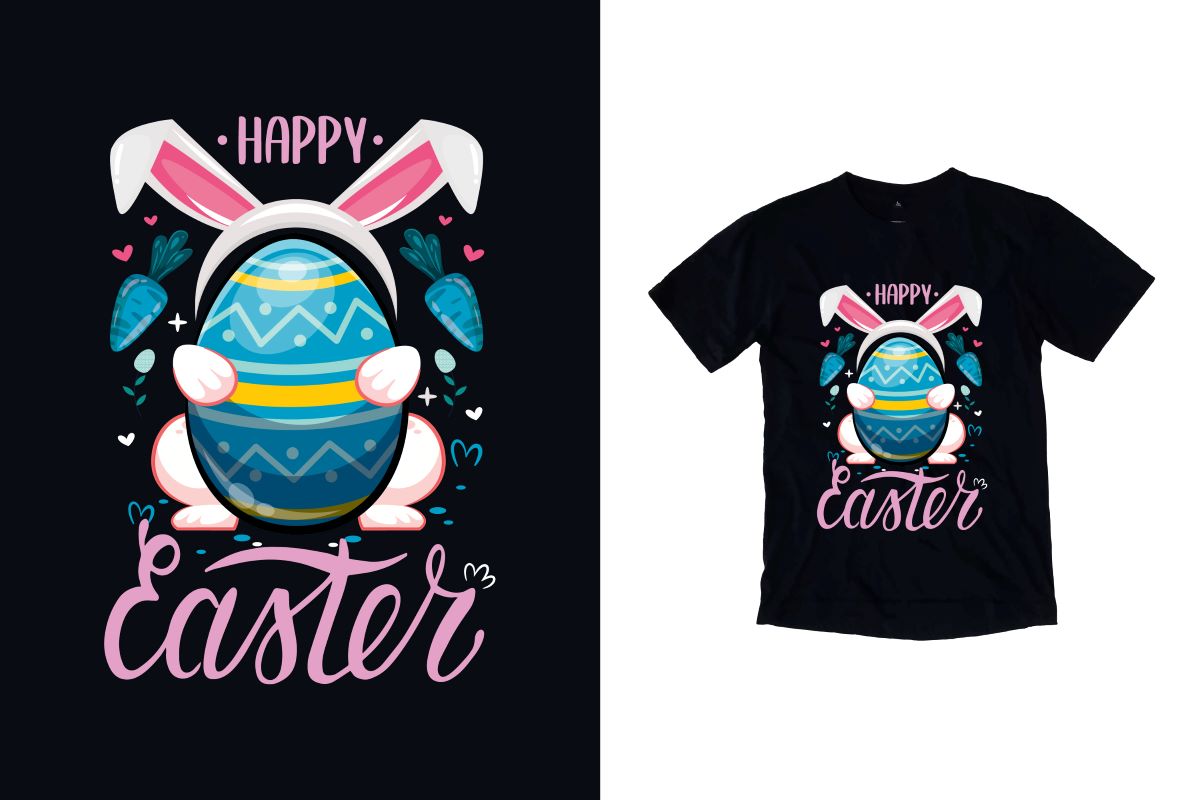
Step-by-Step Guide to Applying DTF Transfers
Getting Started with DTF Transfers
Applying DTF transfers is a straightforward process that produces vibrant, durable designs on a variety of fabrics. Whether you’re new to DTF printing or looking to refine your technique, this step-by-step guide will help you achieve high-quality results. From preparing your design to completing the final transfer, these instructions will ensure your prints look professional and last long.
Prepare Your Design
Begin by creating or selecting a high-quality design. For the best results, ensure the image is high resolution (at least 300 DPI) to capture fine details. Use software like Adobe Photoshop or Illustrator to adjust colors and finalize the design. Once prepared, your design will be ready for DTF transfer printing, allowing you to reproduce vibrant, precise prints on fabric.
Print the Design onto PET Film
Load a sheet of PET film into your DTF printer. Ensure the film is inserted with the printable side facing up for proper ink adherence. Print the design using high-quality DTF inks, as these inks are designed to create vibrant, durable prints. The print should be vivid and precise, providing a strong foundation for the final DTF transfer to fabric.
Apply Adhesive Powder
After printing, evenly sprinkle adhesive powder onto the wet ink on the PET film. Make sure the powder covers all ink areas, as this adhesive will bond the design to the fabric. Gently shake off any excess powder to prevent clumping. An even application is essential for a clean, durable DTF transfer that adheres well to the fabric.
Cure the Printed Film
Curing is a crucial step that solidifies the adhesive powder onto the ink. Use a curing oven or heat gun set to around 250°F and cure the design for 2-3 minutes. Proper curing ensures that the adhesive and ink are bonded together, ready for a strong transfer. Avoid under-curing, as this can lead to peeling, and over-curing, which can cause discoloration in the DTF print.

Position the Film on the Fabric
Once the PET film is cured, place it onto your fabric with the printed side facing down. Align the design carefully, ensuring it’s positioned exactly where you want the final DTF transfer to appear on the garment. This step is critical for achieving professional-looking results and proper placement.
Set the Heat Press Parameters
Setting the right heat press parameters is essential for a successful DTF transfer. Set your heat press to 300-320°F with medium to high pressure. Apply the heat press for 10-15 seconds, which allows the adhesive to bond the design to the fabric. Proper heat and pressure ensure that the print adheres securely and stays in place during use.
Remove the PET Film
After pressing, allow the design to cool slightly before peeling off the PET film. Start peeling from one corner and carefully lift the film off the fabric. The design should remain on the garment, showcasing a vibrant and durable print. This step completes the DTF transfer process, revealing your final design on the fabric.
Perform a Final Heat Press
For added durability, perform a final heat press on the finished design. Place a parchment sheet or Teflon paper over the print and press again at 300°F for about 5 seconds. This final press helps seal the design, ensuring a longer-lasting DTF transfer that resists peeling and fading over time.

Conclusion
Applying DTF transfers is an effective way to create vibrant, long-lasting designs on custom apparel. By following these steps carefully, you can ensure each print is durable and professional-quality. With practice, DTF printing can provide a reliable solution for producing custom garments that meet your standards and impress your customers.
FAQs
-
What is the recommended resolution for DTF designs?
- A resolution of at least 300 DPI is recommended to ensure clear, detailed DTF transfers.
-
What type of ink should I use for DTF printing?
- High-quality DTF inks designed for vibrant, durable prints should be used for best results.
-
How should adhesive powder be applied?
- Apply adhesive powder evenly over the wet ink on PET film, ensuring full coverage for a secure bond.
-
What is the ideal temperature for curing DTF prints?
- Curing should be done at around 250°F to properly bond the adhesive to the ink without discoloration.
-
What temperature and pressure are best for DTF transfers?
- Set the heat press to 300-320°F with medium to high pressure for optimal adhesion of DTF transfers.
-
How long should I press the DTF transfer?
- Press for 10-15 seconds to ensure the design adheres firmly to the fabric.
-
Can I reuse the PET film after DTF printing?
- No, PET film is intended for single-use only in DTF transfers.
-
What fabrics work best with DTF transfers?
- DTF transfers work well on cotton, polyester, and blends, providing vibrant and durable prints.
-
Should I do a final press after removing the film?
- Yes, a final press with parchment or Teflon paper adds durability and helps seal the DTF transfer.
-
How can I avoid peeling issues with DTF transfers?
- Ensure even powder application, proper curing, and accurate heat press settings to prevent peeling.
