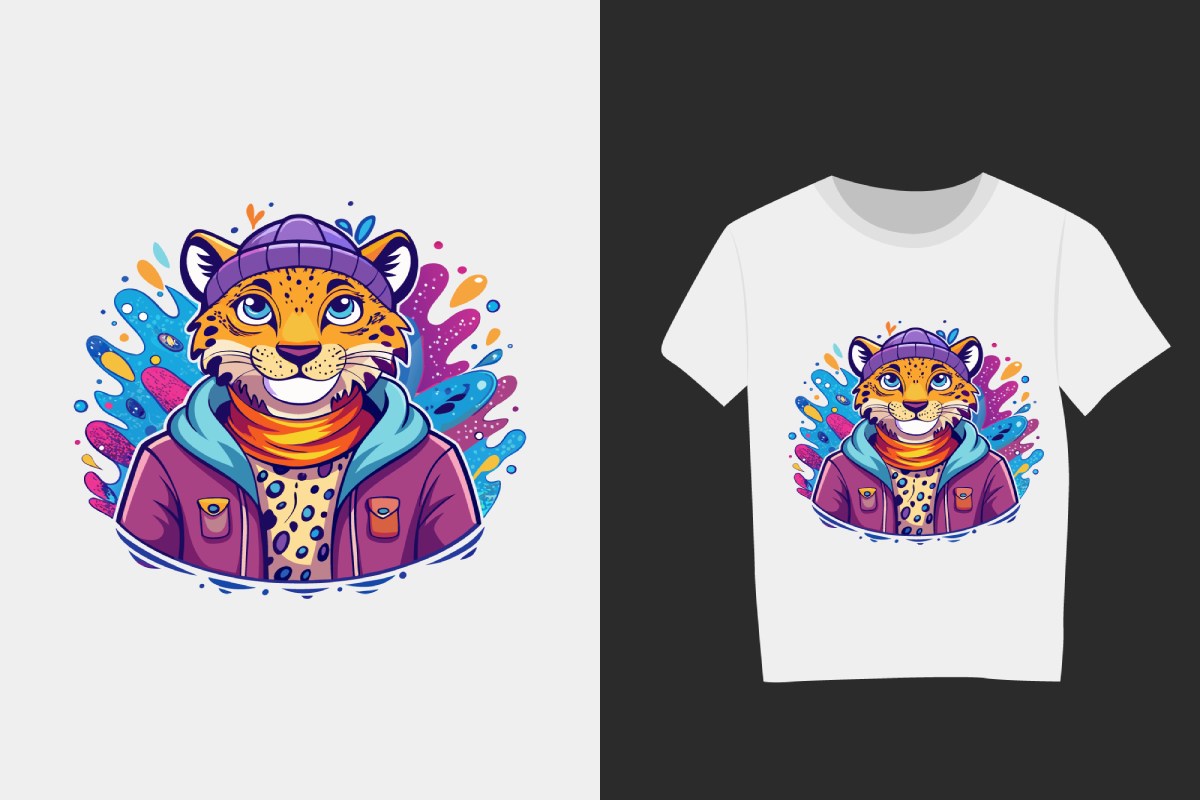
Key Tips for Perfect DTF Transfer Prints
Introduction to Achieving Perfect DTF Transfer Prints
Creating flawless DTF Transfer prints requires a combination of the right materials, techniques, and attention to detail. Whether you’re a beginner or an experienced printer, these key tips will help you achieve professional-quality results every time. From preparing your design to mastering the heat press, this guide covers everything you need to know to perfect your DTF Transfer process.
Start with High-Quality Designs
The foundation of a perfect DTF Transfer print is a high-quality design. Use graphic design software like Adobe Illustrator or Photoshop to create or edit your artwork. Ensure your design is high-resolution (at least 300 DPI) to avoid pixelation or blurriness in the final print. If you’re sourcing designs, choose reputable platforms that offer professional-grade files. A well-prepared design is the first step toward a flawless transfer.
Choose the Right Materials
Using the correct materials is crucial for achieving perfect DTF Transfer prints. Invest in a reliable DTF printer, specialized inks, and high-quality PET films. The adhesive powder you use should be evenly distributed and compatible with your printer and inks. Low-quality materials can lead to issues like poor adhesion, color inconsistency, or cracking, so always opt for trusted brands and suppliers.
Optimize Your Printer Settings
Proper printer settings are essential for achieving vibrant and accurate colors. Calibrate your DTF printer to ensure it’s delivering the right amount of ink for each design. Test your settings on a small piece of film before starting a large project. Adjust the color profiles and resolution as needed to match your design requirements. Consistent printer settings will help you avoid wasted materials and reprints.
Apply Adhesive Powder Evenly
The adhesive powder is a critical component of the DTF Transfer process. After printing your design, apply the powder evenly across the film. Shake off any excess powder to prevent clumping or uneven transfers. Use a curing oven or heat source to melt the powder and activate the adhesive. Proper application ensures that your design adheres firmly to the fabric during the transfer process.
Master the Heat Press Process
The heat press is where the magic happens in DTF Transfer. Set the heat press to the recommended temperature and pressure for the fabric you’re using. Typically, temperatures range between 150°C to 160°C (302°F to 320°F), and the pressing time is around 10-15 seconds. Always test your settings on a scrap piece of fabric to ensure the design transfers perfectly. Consistent heat and pressure are key to achieving durable, vibrant prints.
Pre-Treat Fabrics When Necessary
Some fabrics, especially dark or synthetic ones, may require pre-treatment to ensure optimal adhesion. Use a pre-treatment spray or powder to prepare the fabric before transferring the design. This step helps the adhesive bond better with the fabric, resulting in a more durable print. Always check the manufacturer’s recommendations for pre-treatment products and techniques.
Store and Handle Films Properly
Proper storage and handling of PET films are essential for maintaining print quality. Store films in a cool, dry place away from direct sunlight to prevent warping or damage. Handle films with clean, dry hands to avoid smudges or fingerprints. Proper care ensures that your films are ready for printing and transfer whenever you need them.
Test and Refine Your Process
Even experienced printers can benefit from regular testing and refinement. Experiment with different settings, materials, and techniques to find what works best for your specific needs. Keep a record of your successful prints and the settings used to replicate them in the future. Continuous improvement is the key to mastering DTF Transfer and achieving perfect prints consistently.
Conclusion
Perfecting DTF Transfer prints requires attention to detail, the right materials, and a willingness to refine your process. By following these key tips, you can achieve professional-quality results that stand out in the custom printing industry. Whether you’re creating custom apparel, promotional items, or personalized gifts, these strategies will help you deliver flawless prints every time.
FAQ
- What is the best way to apply adhesive powder in DTF Transfer?
- Apply the powder evenly across the printed film and shake off any excess to avoid clumping or uneven transfers.
- How do I prevent cracking in DTF Transfer prints?
- Ensure proper adhesive application and use the correct heat press settings for the fabric you’re working with.
- Can I use DTF Transfer on stretchy fabrics?
- Yes, DTF Transfer works well on stretchy fabrics, but pre-treatment may be necessary for optimal results.
- What temperature should I use for the heat press?
- Typically, temperatures range between 150°C to 160°C (302°F to 320°F), but always test on a scrap piece of fabric first.
- How do I store PET films for DTF Transfer?
- Store films in a cool, dry place away from direct sunlight and handle them with clean, dry hands.
- What resolution should my design be for DTF Transfer?
- Your design should be at least 300 DPI to ensure sharp, high-quality prints.
- Can I use DTF Transfer on dark fabrics?
- Yes, DTF Transfer works well on dark fabrics, but pre-treatment may be required for best results.
- How do I avoid color inconsistency in DTF Transfer?
- Calibrate your printer and use high-quality inks to ensure consistent color output.
- What is the role of pre-treatment in DTF Transfer?
- Pre-treatment helps the adhesive bond better with the fabric, especially on dark or synthetic materials.
- How can I improve my DTF Transfer process?
- Regularly test and refine your process, keeping records of successful prints and settings for future reference.
